Equatorial
Division
Equatorial
Division

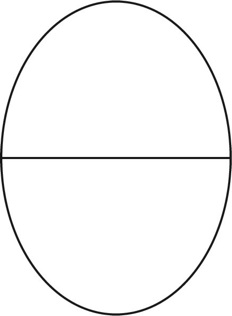
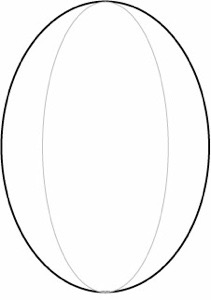
The Equatorial division is also very simple one, and, like the meridian, is not a horribly common one. This division is a equatorial, i.e. around the middle of the egg, and results in the main parts of the design being place at the “poles.” The surface of the egg into two hemispheres, which are then often subdivided further.
Binyashevsky shows us two such pysanky from the Chernihiv (Чернігів) region of Ukraine:
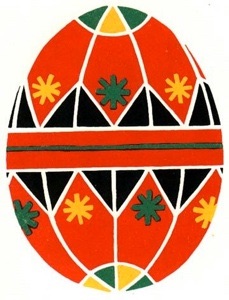
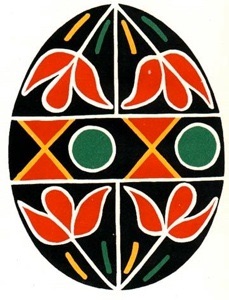
The pysanka on the left is called a “storchova ruzha” (сторчова ружа, “end ruzha”), because the main motif is an eight-pointed star (ruzha) which is centered on each end of the egg, top and bottom. The one on the right is called simply “flowers.” In both we can see a simple dividing band around the equator, and placement of the main design motifs in such a way that they center on the two “poles” of the pysanka.
This division is fairly easy to create if you have a craft lathe. If not, horizontal/equatorial lines can be the trickiest, and the easiest to get wrong. If you don’t have a lathe, rubber bands or a measuring tape can help you keep the line centered and ensure that the ends meet.


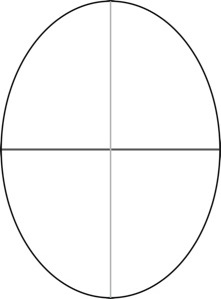
A B
Others simply measure from the top at several points or eyeball the middle. Waxing in the lines gives you this very simple division (C):

C
I personally find it useful, in this (or any) division, to have both the longitudinal (up and down) and horizontal lines pencilled in, whether you use them or not in your final design. Dividing your egg thusly helps in the even placement of motifs, by making it easier to center them, and helps keep your designs symmetric.
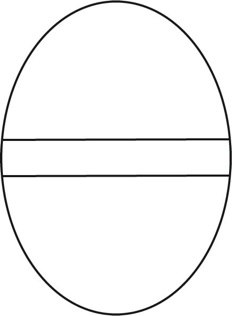
If your design calls for a wider equator (dividing band), like the pysanky shown above, it’s a simple matter to create one. First you should draw a simple equatorial line, in PENCIL, as shown above (B). Next, PENCIL in parallel lines above and below it . This can be done by measuring above and below the central line (C), or by simply writing at an even distance around the egg, with the central line as a guide. EIther way, your result should look like (E).
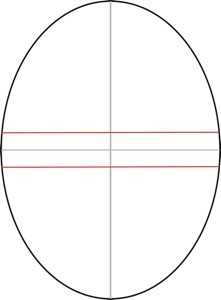

D E
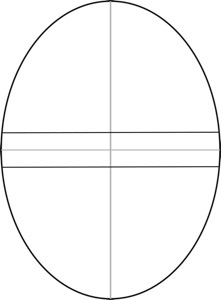
Waxing in these pencil lines will give you a central dividing band as shown (F).
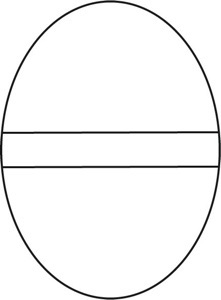
F
Back to Main Writing Pysanky page
Back to Main Pysankarstvo page
Note: All photos, illustrations and text © Luba Petrusha 2007 (except Binyashevsky prints and measuring tape). All Rights Reserved. Reproduction prohibited without expressed consent. May contact via e-mail (link below).
Polar Placement