Overview

You’ve written your pysanka, removed the wax, and have a gorgeous egg to admire. But are you finished? Well, not quite. You need to see if it needs any finishing touches, and then decide if you’re going to varnish and/or empty your egg.
None of these processes is absolutely necessary, but the latter two are recommended if you wish to hang on to your pysanka for any significant length of time.
Touching Up: Everyone makes mistakes. Some are small and barely noticeable, others are large and irritating. And sometimes the dye just doesn’t take as well as it should. In the latter two instances, you may wish to touch up the egg before finishing it.
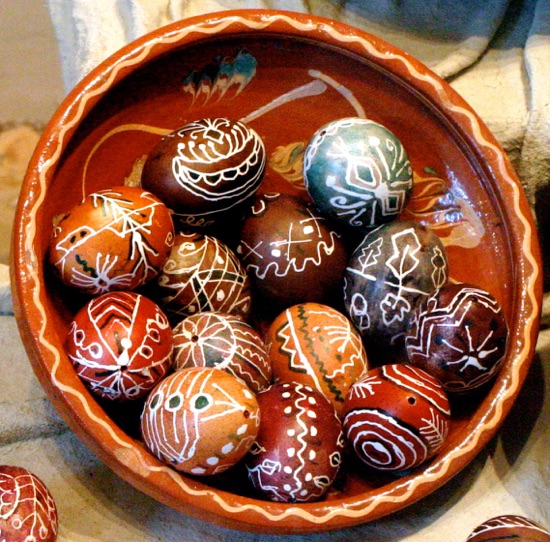
This is not an entirely modern concept. Traditional pysankarky sometimes used “mixed media” in creating their pysanky, as can be seen by some odd color combinations and out-of-sequence colors found on traditional eggs. Color could be added in by spot-dyeing, or by writing with black or colored ink. The pysanky below, from a museum in Trypillia, demonstrate the latter technique:

Details have been added in black ink to these traditional pysanky from Kyivshchyna
Emptying: Pysanky were traditionally left full, and the contents would slowly dry up over time, leaving either a small dried ball inside, or an egg that behaved like a Weeble (i.e. one that would stay stuck in one position due to the dried up egg contents being stuck to one part of the shell).
The egg white and yolk were left inside because the egg itself, and not just the designs drawn upon it, contributed to the magical properties of the pysanka. It was the egg that gave forth life in the spring, and emptying it would diminish the pysanka’s talismanic powers. Pysanky were not objects of art, but ritual objects, and were only expected to last a year, from spring to spring, until a new batch would be made.
But the pysanky didn’t always dry up. Some eggs leaked, others might even explode.
To prolong the life of the pysanky, the eggs they were made from were sometimes baked beforehand. While boiling will ruin the cuticle of an egg and prevent good dye adherence, baking does not have this effect. Eggs would be placed in an oven, and the egg baked just enough to cook it, but not enough to cause it to expand (and force the baked egg white out through the pores of the shell). Pysanky made on baked eggs were referred to as “pecharky” (печарки). It is said they are less likely to crack, leak and go bad.
Today many pysankary empty the egg either before writing a pysanka or after having done so. Emptied eggs generally last longer than full ones, and while perhaps less magical, they don’t provide any odiferous surprises.

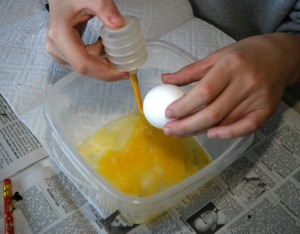
Emptying out an egg with a Blas-Fix
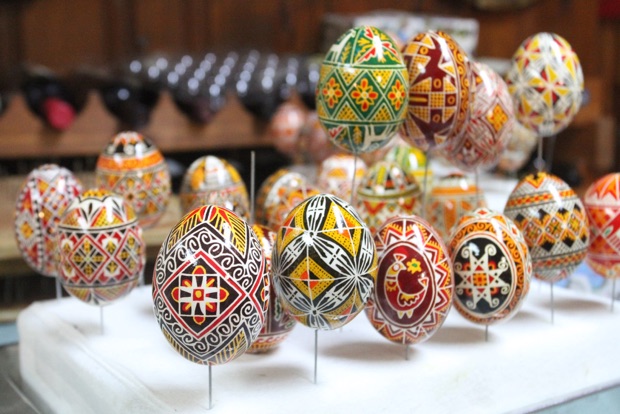
Varnishing: You may wish to apply a glossy (or satin) finish to your pysanka once it is completed. There are two principle reasons for putting a finish on your pysanka: aesthetic and protective.
Most people find eggs with a shiny or satin finish to be more attractive. Some prefer a high gloss finish, others like something satin and subdued. It is a matter of personal preference.
A finish can also protect the eggs from water damage (the dyes will run if the pysanka shell becomes damp or any droplets of water fall on it), light damage (UV protection) and strengthen the shell.
In early times, pysanky were made a bit shiny by rubbing a bit of pork or chicken fat on them. There was no need to protect pysanky from water damage, as natural dyes were water fast. Similarly, the old botanical dyes were light fast, and there was no need to strengthen the shell, as they were practical items (albeit magical), and not held on to for long periods of time.
It’s different now.
Aniline dyes are bright and colorful and quick and easy. But the trade-off is colors that are neither water-safe nor light-stable. Putting a coat of ordinary varnish on an egg will protect it from water, but will not protect it from sunlight. There are special varnishes that provide UV protection, but they can be fairly toxic and difficult to apply. It is best simply to keep the egg out of direct sunlight.
And applying a coat–or several–of varnish will reinforce the shell, making it stronger and thicker.

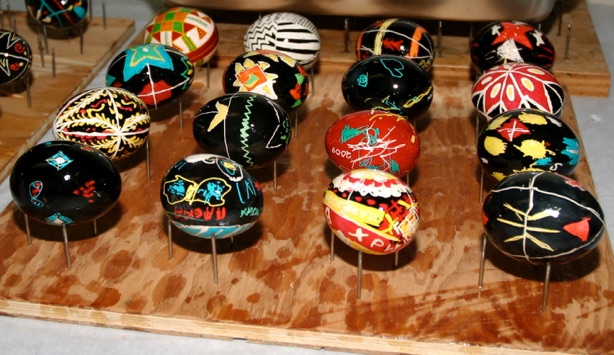
Newly varnished student pysanky on a drying board
If you wish to hang onto your pysanky for a longer time and to safely share them with others, it is well worth considering varnishing and/or emptying them.
CAVEAT: Keep in mind that, once an egg is varnished, the pores in the shell are sealed and it cannot dry out properly. These are the sorts of eggs that are more prone to leaking and exploding. If you plan to varnish your pysanky, you should really either use empty shells for making pysanky, or empty the pysanky after varnishing.
Further discussion of these topics and more detailed instructions can be found on the pages that follow.
Back to Main Creating a Pysanka page
Back to Main Pysankarstvo page
Back to MAIN Pysanka home page.
Back to Pysanka Index.
Search my site with Google
One last thing........


