Sealing Emptied Eggs

I find blown out eggs are more of a hassle to work with than full eggs for several reasons. One is that I am used to the heft of a full egg, and the light ones just don’t feel right. The other problems with dyeing emptied eggs are:
1)The dye can leak into the egg through the drainage hole.
2) The dye can leak out through the shell.
How, then, does one get around these problems? You can’t do much about the heft of the egg, but you can do osmeting about hte other problems.
Seal the drainage hole.
Closing off the hole in the end of the egg will prevent the dye leaking into the egg. Why do we want to prevent this? First of all, it’s messy. What goes in will eventually come out, and dye running out of an egg can cause a mess on your hands, on your work area, on your counters, on your floors, and on the egg itself. Second, dye which gets into the egg can also come out through the pores of the shell, which may be exposed if here has been any break in the inner membrane. This will be extravasated through the pores out onto the shell, causing colored spots.
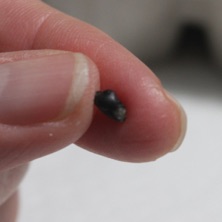
1. Beeswax Plug. The hole can be closed simply with a bit of beeswax. Pinch off a bit of beeswax with your fingernails, and roll it into a cone. This works best if the beeswax is not too horribly cold.
Insert this beeswax plug into the open drain hole, and squash it down a bit.
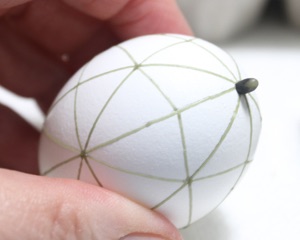

Lastly, seal it in by writing a line of wax around the base of the wax plug, where it meets the sides of the hole. You can use either a traditional or electric stylus, but it is best to use a heavy/wide tipped one.
This will leave a white ring around the hole when the wax is removed at the end, but provides the most reliable seal.
2. Silicone Plug. Some people us silicone plugs, which are convenient and easy to place. However, plugs can leak if the hole is irregular, and twisting a plug in and out of the hole each time you dye (as is recommended) risks cracking the shell around the hole. And plugs can get knocked out during the dyeing process.
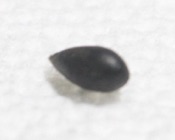
This is a silicone plug once sold by So Jeo on her Etsy site:
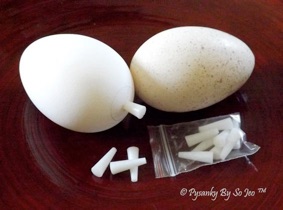
Keep in mind that these plugs get in the way while you are trying to work on an egg, which is why it is recommended to remove them between dyeings. When I do use these plugs, I generally do so only with goose eggs, which have a nice thick shell.
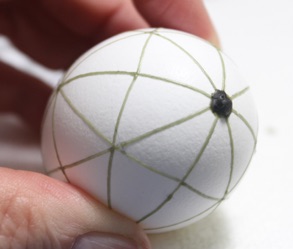
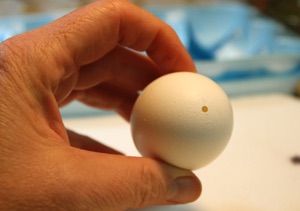
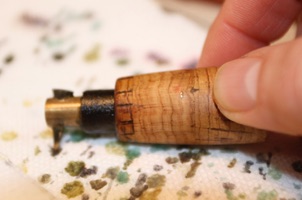
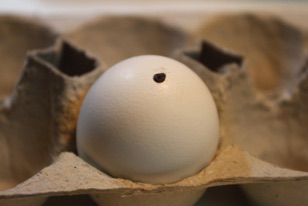
3. Beeswax Infill. There is a third way, which I used to use. You make the drainage holes (e.g. with a Blas-Fix hand drill) so they are small and uniform, like the one in this large chicken egg:
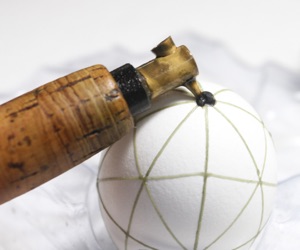
To fill this hole, take a heavy stylus, fill it with wax, and blot off the excess wax on some paper towel. Then take that stylus, and run it around the edge/rim of the hole, leaving a line of wax:
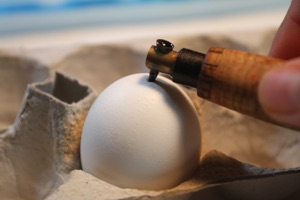
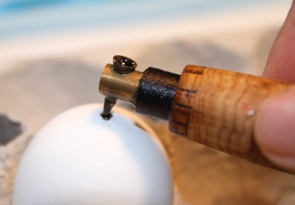
The egg is shown here sitting in a piece of an egg carton. You can also hold in in your non-dominant hand. Keep writing around the edge, building up the wax, until the hole is completely covered over with wax. This will seal the hole:
I find about 10% of eggs sealed this way will leak, which is a real problem if you are using these eggs in a class. Some people will write another line around the edge of the plug to provide a tighter seal, and that’s not a bad idea.
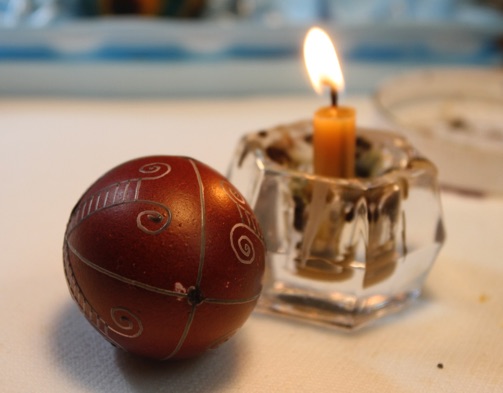
Also, make sure the egg is relatively warm if using this method; placing hot beeswax into the opening will heat the air inside, causing it to get pushed out through the hole and causing splatter. I will often warm the egg next to a candle flame for a bit before infilling.
If you are using this method, make sure do it prior to writing the design. You can sometimes get a bit of splatter of the hot wax, and it is easier to clean it up off of a blank egg than one with designs on it. (Goof Off or mineral spirits and a sharp blade can usually take care of these bits of stray wax.)
One problem that arises with emptied eggs is that dye can leak into the egg either through a poorly sealed drain hole or through the shell itself; one it is removed from the dye, it can leak back out through the shell and form spots. If this occurs, check your seal. If the seal is intact, consider using the freezer method.
Preventing Spots by Using the Freezer Method
When the dye seeps into your empty shell, it causes spots or freckles that bloom moments after the egg is removed from the dye. This is almost never a problem with a full, raw egg. The fault can be an incompletely sealed hole, a leaky membrane or a small crack in the shell.
To prevent the spots from appearing:
1. Fill the blowhole in the egg with a small ball of wax, and run the hot kistka around the edge to seal it airtight.
2. Place the egg into your freezer for a few minutes. Make sure you don't put it on anything wet! If you leave it too long, it will get frosty, which may temporarily affect how the egg takes the dye. Warm it up, dry it off and chill it again.
3. Take the cold egg out of the freezer and place it immediately into the dye bath. You may notice a little "fizzing" as the air inside the egg expands, keeping the liquid from getting in. Try not to handle the egg with your hands too much, as this will heat the air inside the egg, stopping the beneficial effect. This has to do with the laws of physics (Boyle's Law and Charles' Law) concerning pressure and temperature.
4. When the egg is finished in the dye, pat it dry and break the seal in the wax hole.
5. Write on the egg as desired, then seal the hole and put it back in the freezer for the next dye.
If you have an egg that seems spotty beyond all saving, try to cover it up with a mottled finish: Dip several sponges in complementary colors (for example, blue/green/purple or red/yellow/orange) and sponge the colors onto the freckled area. Try for a marbled effect.


Back to Main Preparations page
Back to Main Pysankarstvo page
Search my site with Google
Tho Stop the Dye Pouring In..........