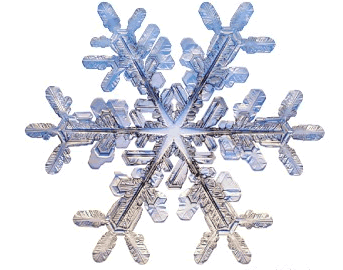
Snowflake Pysanka
Step-by-Step: Wax Removal
Snowflake Pysanka
Step-by-Step: Wax Removal

WAX: The beeswax is removed in the usual manner. If you have a light colored pysanka, you should try to avoid using a candle to remove the wax if possible. This is particularly true for beginners, or those not very skilled with the candle technique. Soot and scorching really show up on these pysanky, and can’t always be removed with GooGone or other solvents.
Chemical dissolution, a heat gun (emptied eggs), or heating the eggs in the oven are viable options, and highly recommended.
PENCIL MARKS: Once you have removed the wax, you might note that there are pencil marks in the white areas of the snowflake. I remove these by using an eraser and rubbing firmly, but not too vigorously. Pencil marks are particularly annoying on these pysanky, as they really show up against the white or against light backgrounds. This snowflake demonstrates the problem:

I was distracted, and began varnishing eggs before carefully inspecting them for pencil marks..... Some of the pencil marks will come off with the wax, but not necessarily all of them
I use a two-pronged approach to remove the pencil marks from these pysanky.
First, I use Goof-Off wipes (water-based formula) to removed the pencil after I have finished waxing the main lines of the snowflake (on the white egg). DO NOT use regular Goof-Off, as it will remove the wax!! And do not use these wipes AFTER dyeing the egg, as they will remove the dye along with the pencil marks.
Next, I use an eraser to remove any marks that may remain after I’ve removed the wax. After I’m done waxing, I dip the egg in a vinegar rinse, and dye it. After the wax has been removed, I remove the pencil marks from the white areas with an art gum eraser. It is a bit slow and tedious, and you have to be methodical. The eraser does a good job, thought, as long as you don’t rub too hard and remove the cuticle of the egg!

Back to MAIN My Pysanky page.
Back to MAIN Snowflake Pysanky page.
Removing the Wax and Pencil Marks
