Creating a Pysanka

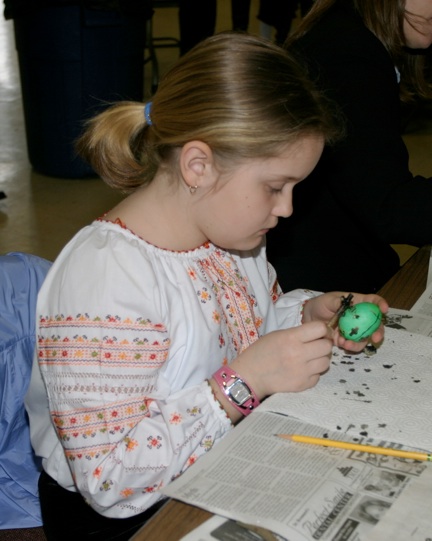
Oksana creates a beautiful pysanka
Creating a pysanka can be as simple or as complex a process and you wish. A beautiful egg can be created using only rudimentary techniques and tools; complex patterns can be created with more sophisticated techniques and tools.
On the following pages are in-depth descriptions of all the stages of creating a pysanka, from selecting eggs and setting up a workspace, to dyeing, wax removal and storage and display of pysanky.
This is a large section, and is basically “Advanced Pysankarstvo.” I have taken the step-by step instructions from “The Basic Steps” and expanded them, expounding at length on the minutiae of the process. I not only discuss the way that I make pysanky, but add information that has been passed on to me by other pysanka makers. It is advanced not in the sense of being difficult, but more detailed.
There are many subsections with lots of pages. Many of the pages are just stubs or placeholders. I will eventually have lots of text on all of them, but, for now, I write when I can, and post when I am able.
What you need to do before you start writing pysanky.
Transferring your design from your mind to the egg–in pencil
Finding the Top and Bottom of an Egg
How to turn ideas and pencil lines in batiked wax lines.
Tips and Techniques of Wax Application
The ins and outs of dye theory and more practical aspects of dyeing.
How to get the wax off after you’re done writing your pysanka.
What to do after the wax comes off.
Some common problems and what to do about them.
Common Problems
Storing and Displaying Pysanky
How to share your pysanky with the world
How to Package and Ship Pysanky
Taking photos of your pysanky
General Pysanka Photography Tips
This section is a still a work in progress.
Special thanks to Nick, Kalyna and Fuzz, who were kind enough to spend hours in strange positions posing for their aunt.
Back to Main Pysankarstvo page
Back to MAIN Pysanka home page.
Back to Pysanka Index.
Search my site with Google


